Once you have located a place to make your ecosphere (see Water bodies) the fun can begin! For collection, you will need:
- Your jar if assembling in the field
- A trowel or something you can use to scoop sediment
- A tub for sediment collection if assembling at home
- A container for water if assembling at home, I personally use old water bottles for this
While not necessary, I would also suggest you bring the following pieces of equipment for a more hassle free experience:
- Welly boots just in case you cannot gather sediment without getting wet
- Paper towel, bring enough to dry your hands and clean off excess sediment
- A plastic bag to keep anything wet contained
- A cup for sourcing organisms (see Sourcing organisms)
- A net for sourcing organisms (see Sourcing organisms)
- Hand sanitizer or anything antibacterial, rivers and ponds can contain tons of bacteria, none of which you want getting inside your body
The first step in creating your ecosphere is the addition of the sediment to your container, you can assemble your ecosphere in the field or at home. Field assembly is as simple as adding sediment and water straight into the jar, however I personally prefer home assemblage as it tends to be a lot less messy. If going this route, fill 2 separate containers with enough sediment and water for the container you plan to use. Try to only take as much sediment as you need, excess sediment should be returned as it is full of animal life. To avoid this issue, you could fill your jar with sediment to the correct depth in the field and add water at home.
You should only add roughly 4cm (1.5″) of sediment if using a 1.5 or 2L jar, use a little less for smaller jars and a little more for larger jars, it really depends on the shape of the jar, but you can usually tell by eye when it’s at a good level. It needs to be high enough to support the root growth of plants but not so high that it takes away valuable volume for organisms to thrive in the water column. Adding too much is a common rookie mistake, if in doubt use a bit less!

It is important that you do not add an excess of leaves or decaying biological matter, as when they break down they will cause bacterial blooms and ammonia build-up, which can poison the organisms and cause a crash.
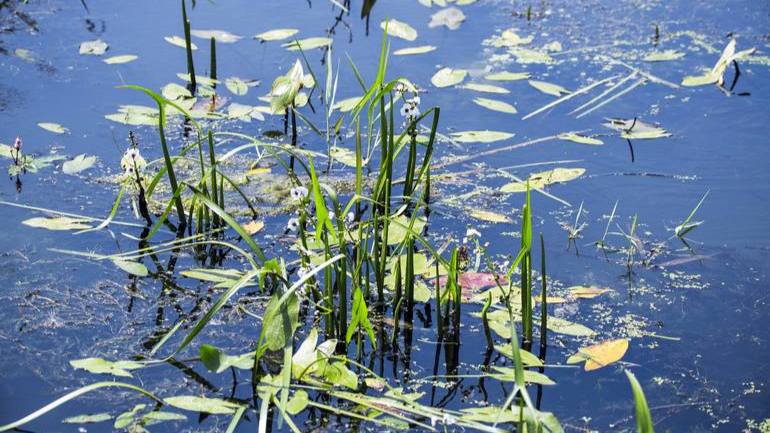
The next step is to add your plants, you can use native plants like short water reeds which grow half immersed in both rivers and ponds. If you can’t find any native plants, you can buy them from your local pet store or online. When planting, most stem plants can be pushed into the wet sediment with tweezers before adding your water, Floating plants should be added after adding the water. If using stem plant be sure to push them down to the bottom of the sediment as trying to push them back into the ground once submerged is a nightmare!
The final step is to add the water, be careful not to add it too quickly as it will cause the sediment to cloud up the container. I recommend slowly pouring the water down the side of the container or slowly siphoning in the water to avoid this issue. Fill the container almost to the top, leaving an air gap to allow for gas exchange. There is no set size for this air gap because every jar is different in shape, however for most containers you can usually make it a little over the length of your thumbprint.